Alerting: Using the Kibana Graph Mode
Tags: Alerting

This post walks you through the graph mode of the Signals Alerting Kibana app and shows how to generate watches and notifications with a few simple clicks.
The Signals Kibana app is distributed as part of the Search Guard Kibana app. To use Signals, we need to install Search Guard Elasticsearch and Kibana plugins.
Add some data
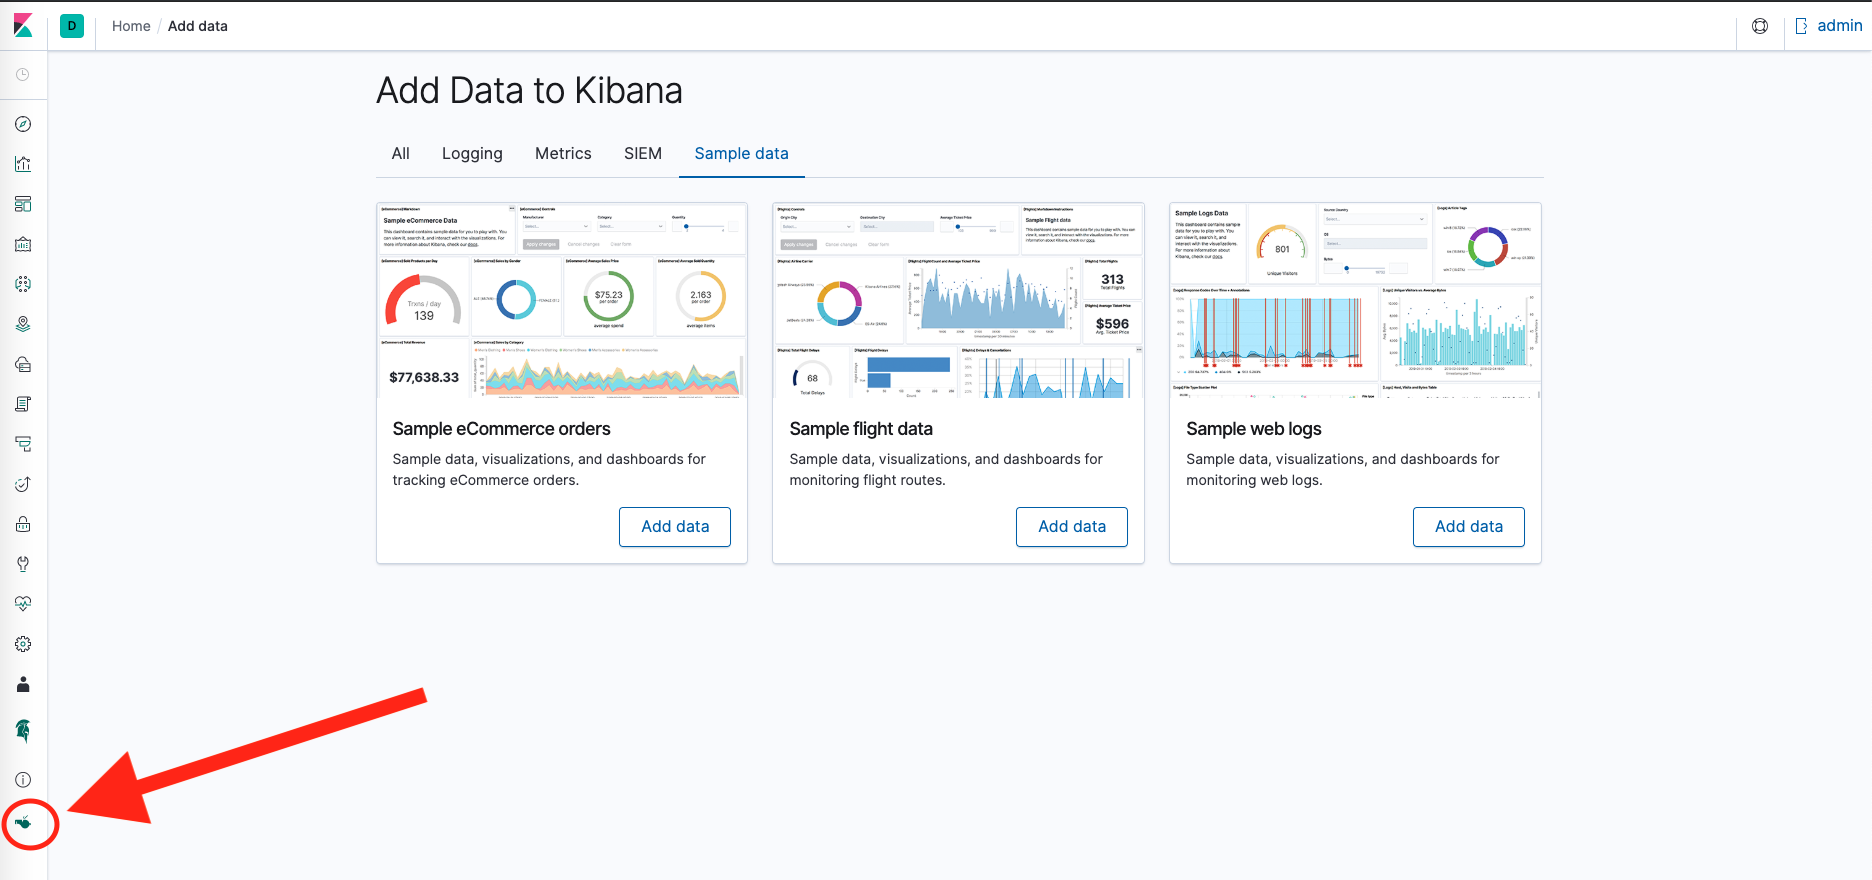
First, we need to add the Kibana sample data in order to have some data in Elasticsearch to play with.
For this walk-through, we use the sample flight data.
Find Signals
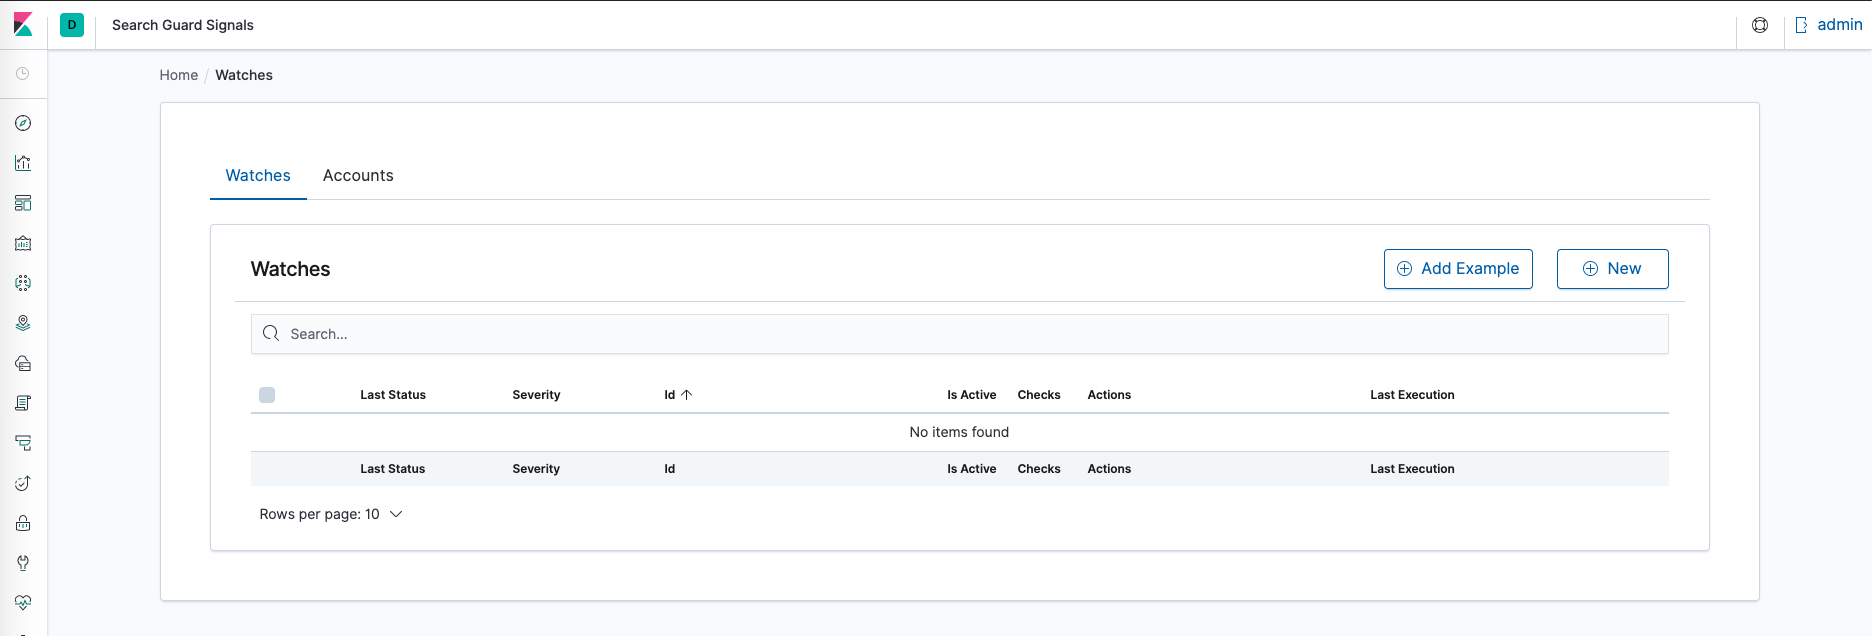
Find the Signals icon on the left menu or replace kibana with searchguard-signals in the browser URL, for example:
http://kibana.example.com:5601/app/searchguard-signals#/watches
Now you see Signals home page with an empty table. In the next chapter, we learn how to use Signals.
How it works
A watch is an alert configuration. Discover how it works before proceeding with this tutorial.
Wizard watch
General
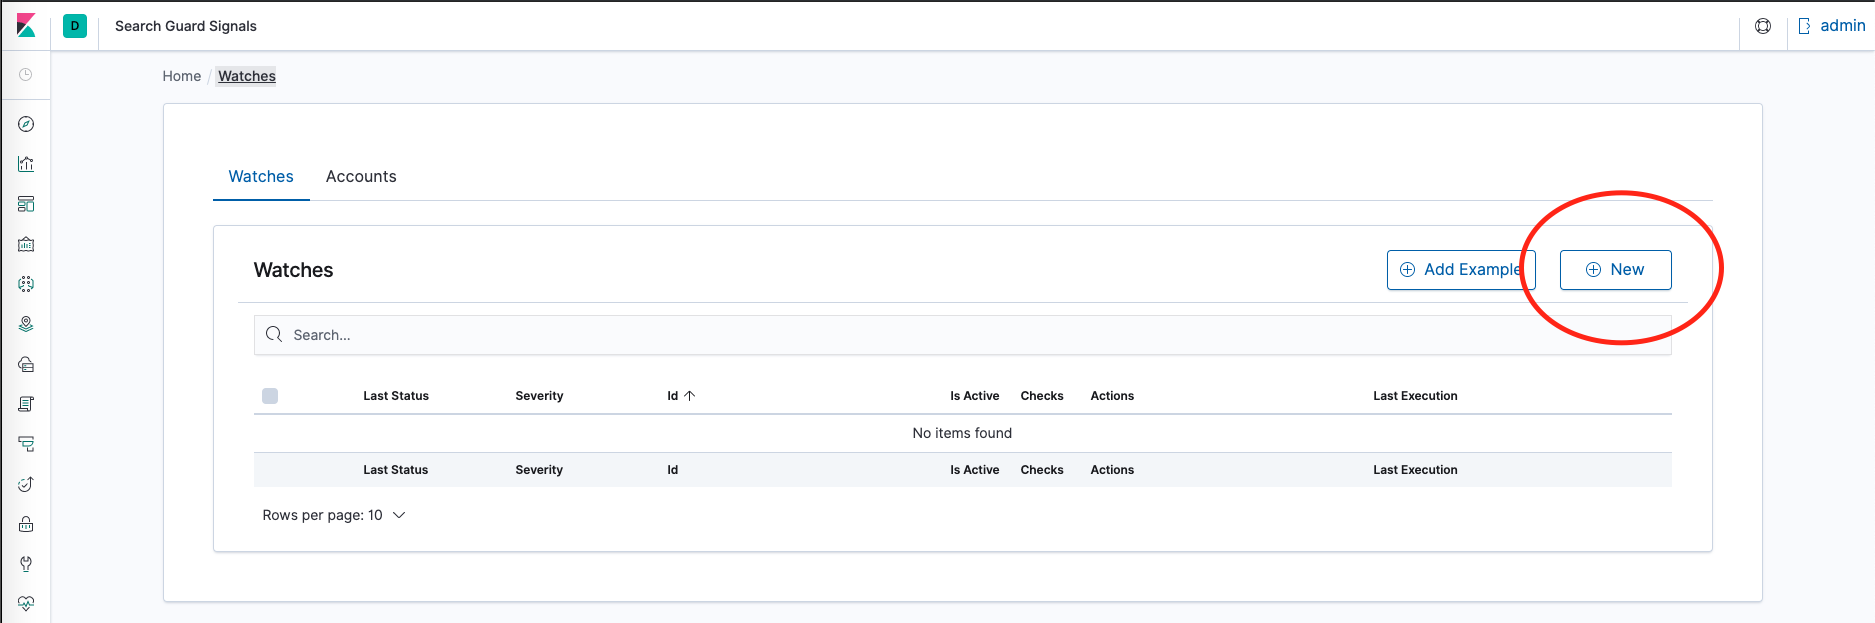
Click the New button to create a new watch.
First, choose a telling name for your new watch.
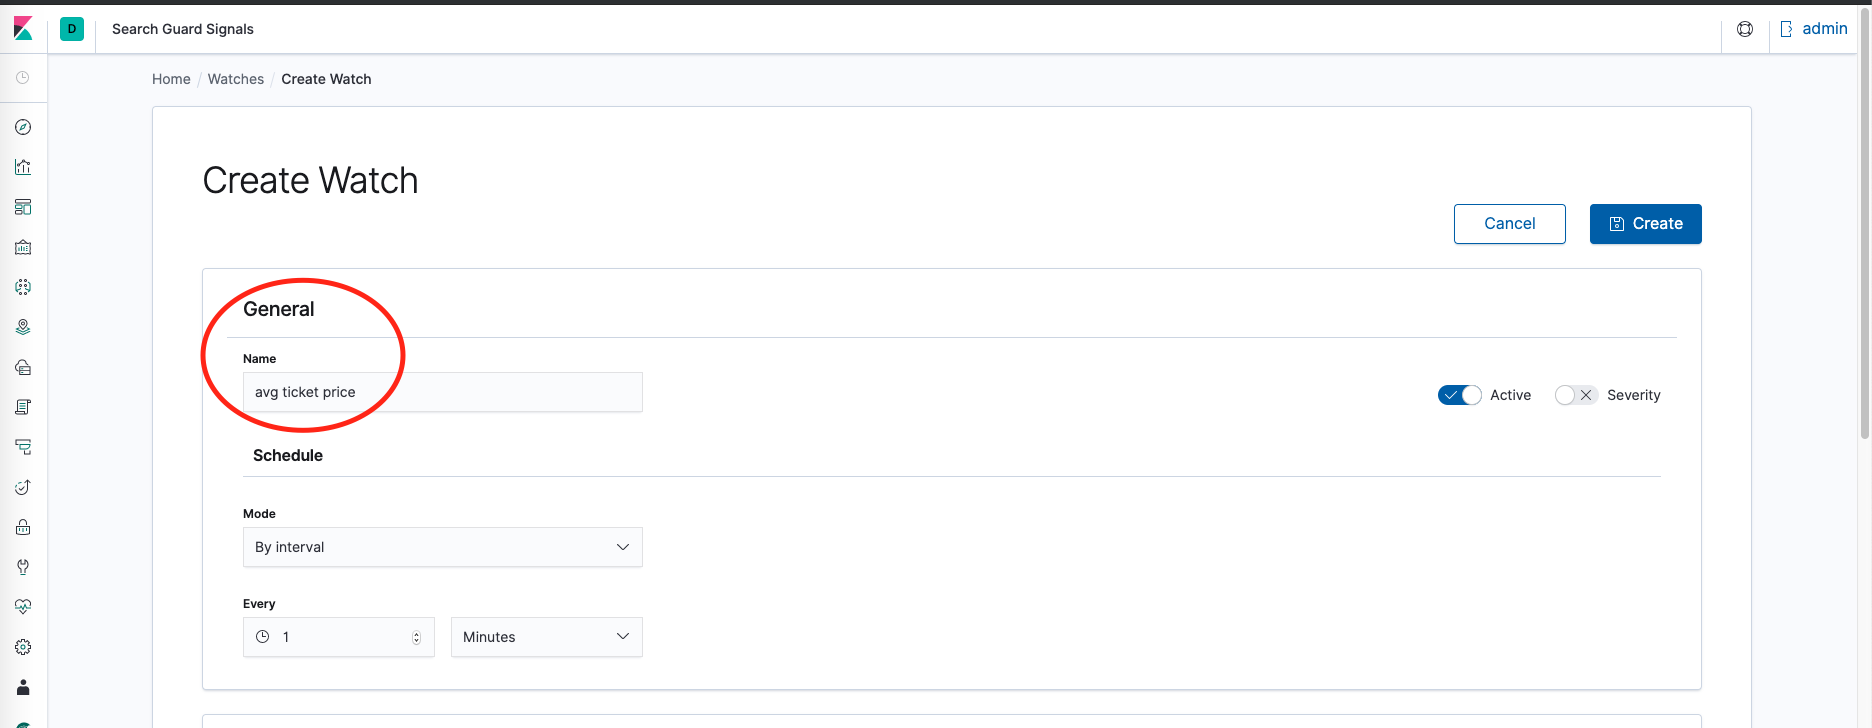
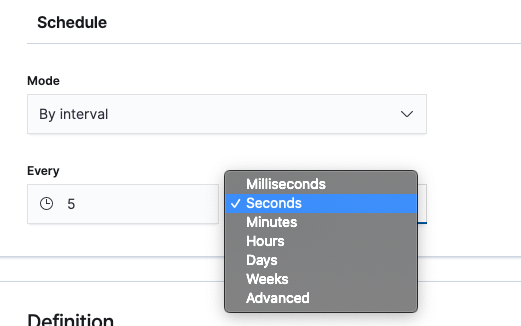
As a next step, we define how often we want the watch to run. We want to run it every 5 minutes, which be configure by setting an interval trigger:
Select
kibanasampledata_flights
index and timestamp
for the time field.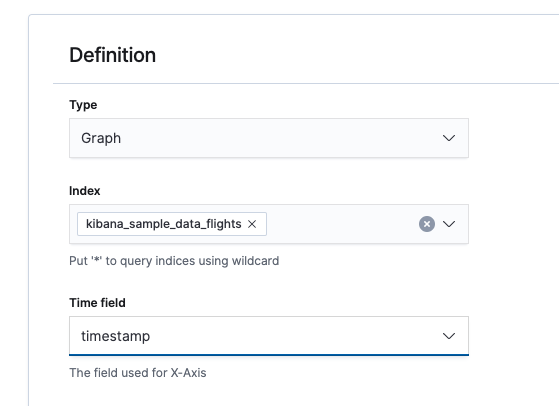
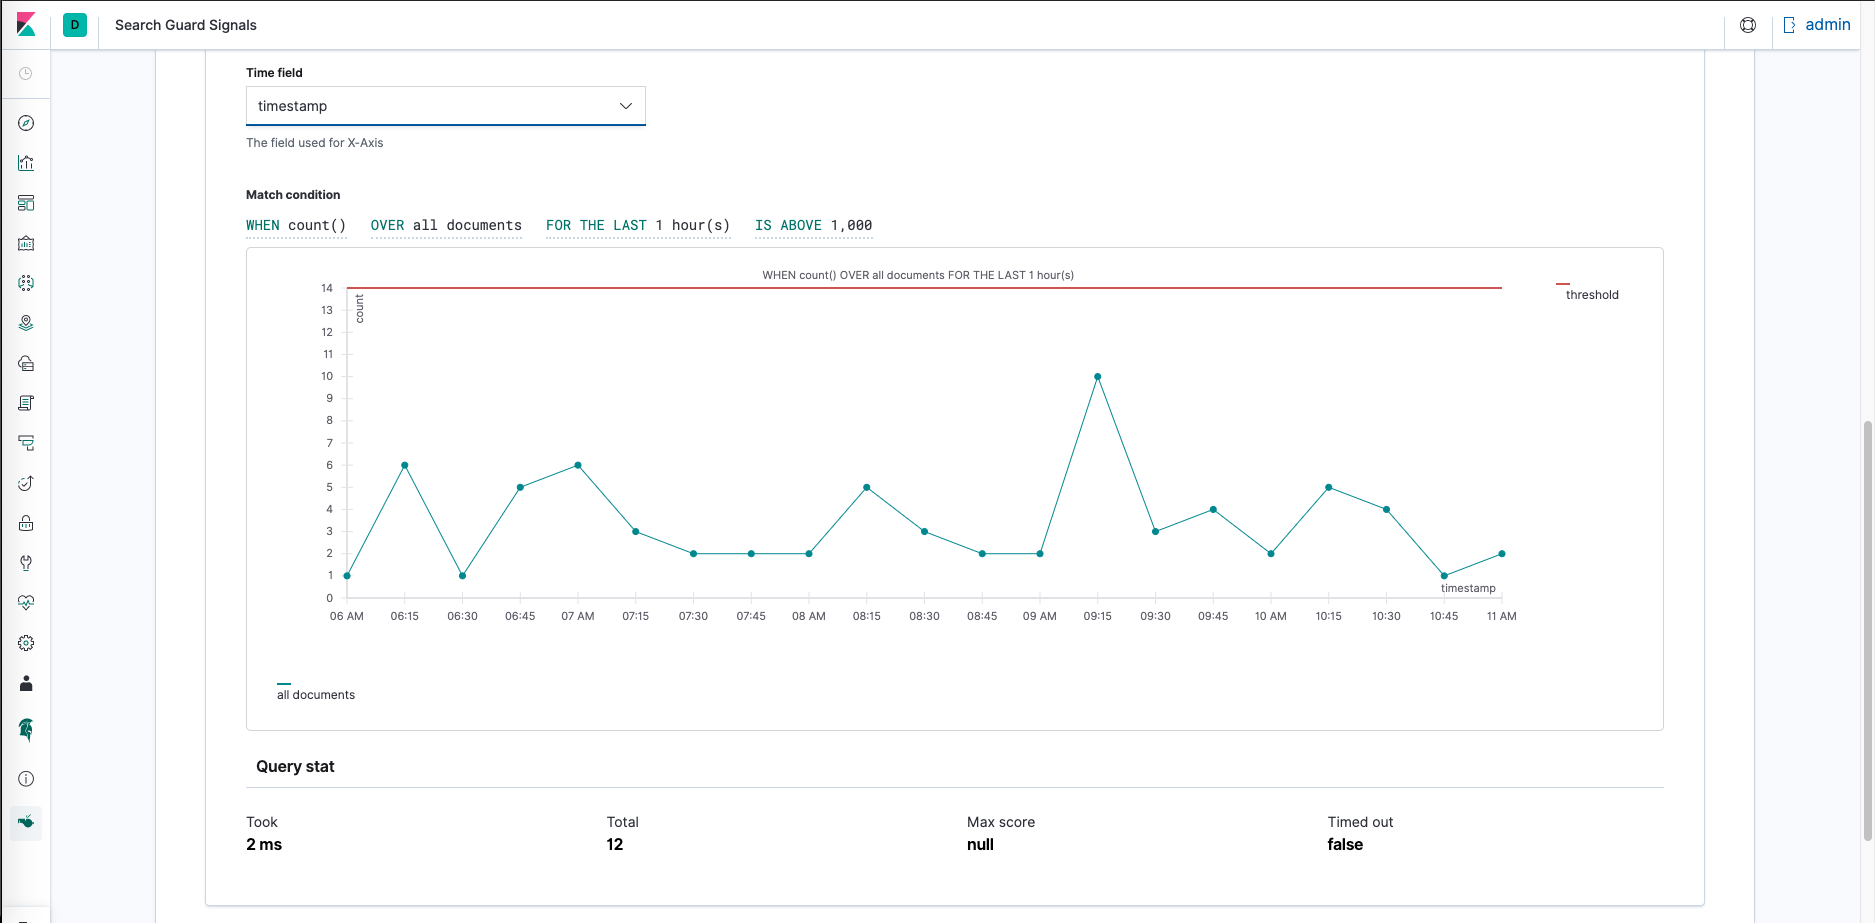
Search query
Now you see a visualization rendered below. The visualization shows all documents count change over the last 1 hour.
Now let’s configure the watch to show us the average flight ticket price change over the last 1 hour. Select average() from WHEN expression.
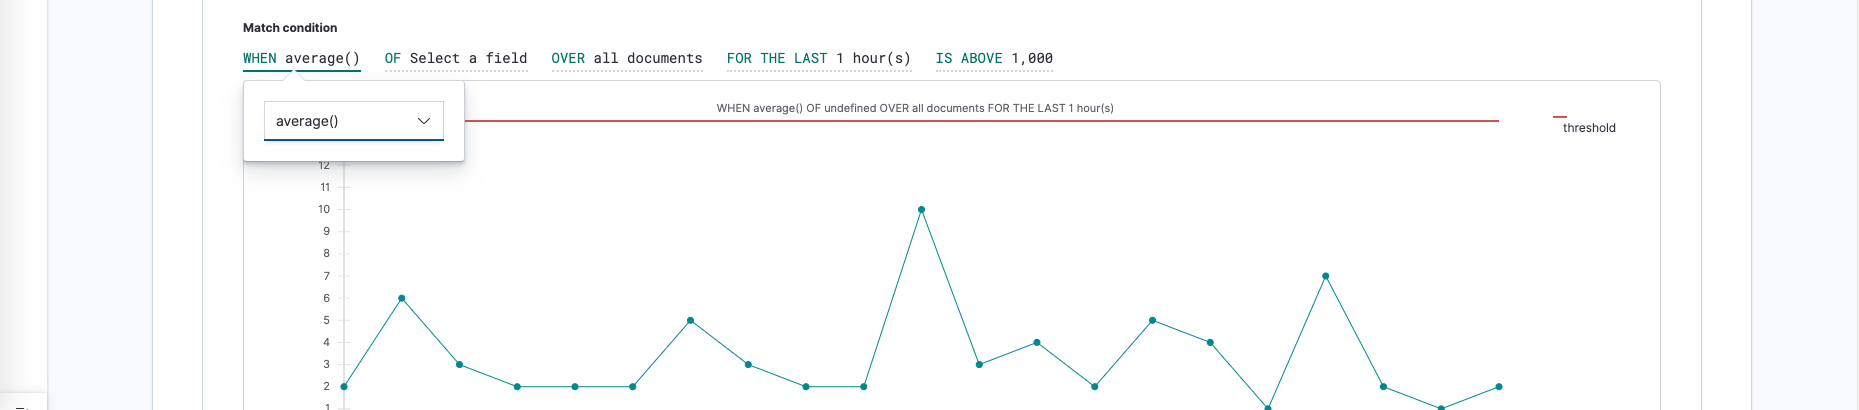
Then select
AvgTicketPrice
from OF
expression and see the visualization changed. Below the visualization is Query stat
where you can see the related Elasticsearch query performance.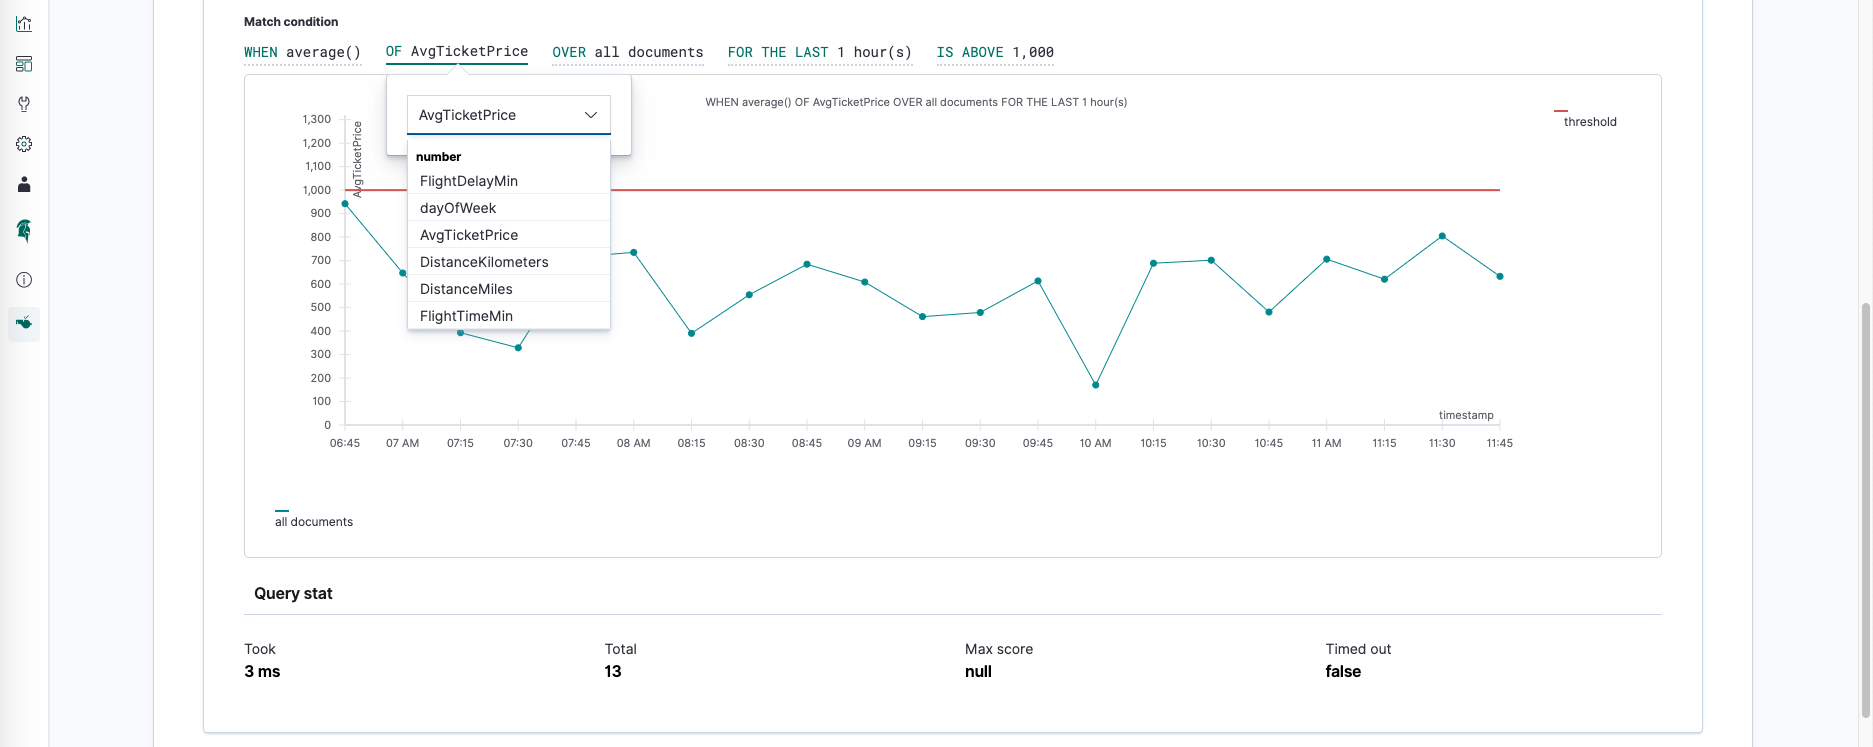
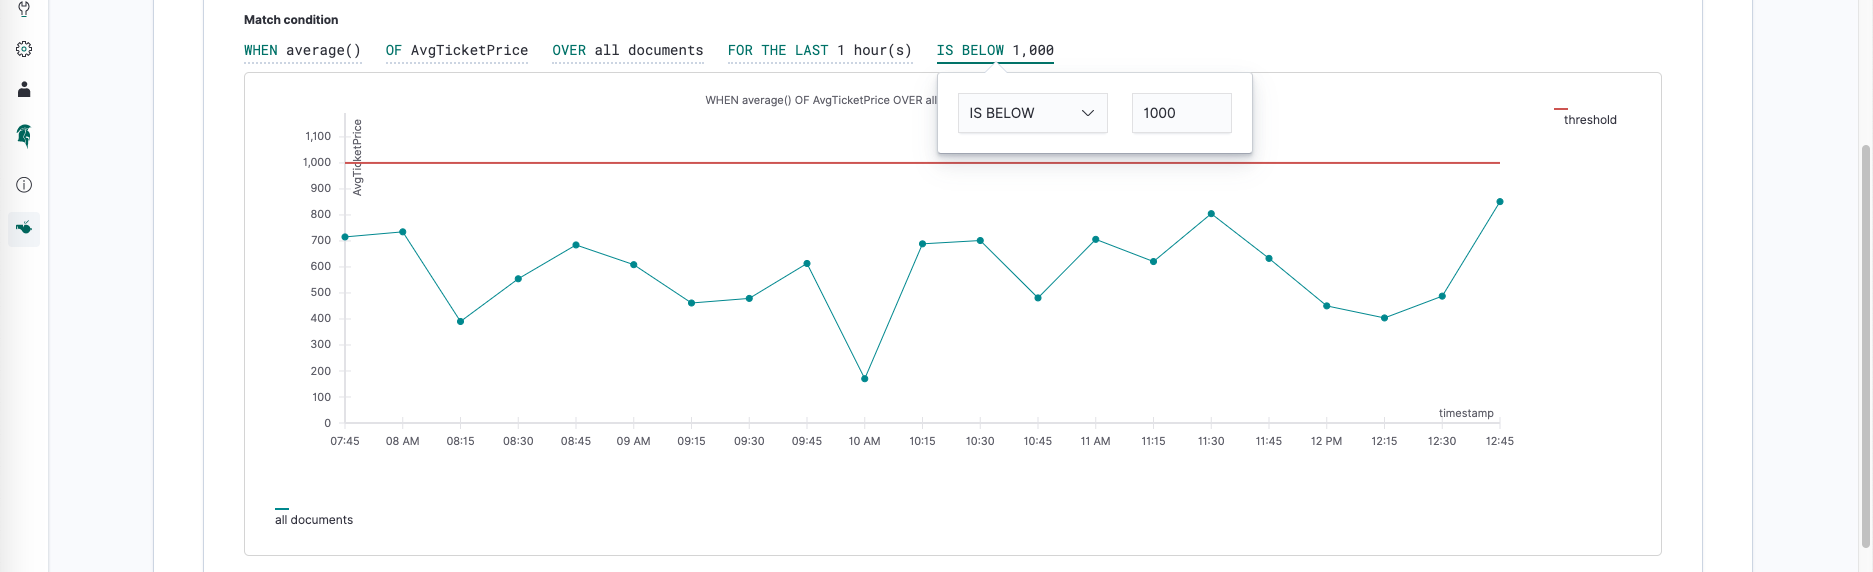
Condition
We want to get informed when the average ticker price is below a certain threshold. So we set the
threshold
to IS BELOW 1000
.
Adding actions
In the next part of this series we will add an action that is being executed when our condition is met. Stay tuned!
Where to go next
Read the next part of this series on how to add actions (coming soon)
Deep dive into Signals by reading our fine documentation
Ask any question on our Signals Alerting forum
Image: shutterstock / Champ008
Published: 2020-02-03
Summarize this with AI
Questions? Drop us a line!
Other posts you may like
Alerting: Using the Kibana Graph Mode
Sergii Bondarenko || 2020-02-03
How to use the Signals Alerting Kibana plugin to create simple yet powerful watches and alerts with a few simple clicks
read more
The Painless Painless Primer
Nils Bandener || 2020-05-05
A quick entry into the Painless programming language for Elasticsearch which can be used to write scripts for Signals Alerting
read more

Alerting: Using the Kibana Block Mode
Cliff Staley || 2020-02-10
How to use the block mode of the Kibana Signals Alerting plugin to easily create watches, thresholds and notifications.
read more