When Single Sign On is not enough: Supporting multiple authentication methods in Kibana
Tags: Search Guard

How Kibana authentication worked so far
Search Guard comes as two separate plugins: One plugin for the Elasticsearch backend, and one plugin for Kibana frontend. Traditionally, both plugins had a separate configuration, and it was your task to make sure that the Elasticsearch and the Kibana configuration matched.
For example, if you wanted to uses OIDC as login method, part of the configuration had to be placed in sg_config.yml, and some configuration had to be placed in kibana.yml.
sg_config.yml:
openid_auth_domain:
  http_enabled: true
  order: 0
  http_authenticator:
    type: openid
    challenge: false
    config:
      subject_key: preferred_username
      roles_key: roles
      openid_connect_url: https://keycloak.example.com/auth/realms/master/.well-known/openid-configuration
  authentication_backend:
    type: noop
kibana.yml:
# Enable OpenID authentication
searchguard.auth.type: "openid"

# the ID of the OpenID Connect client in your IdP
searchguard.openid.client_id: "<client id>"

# the client secret of the OpenID Connect client
searchguard.openid.client_secret: "<client secret>"

# optional: the scope of the identity token
searchguard.openid.scope: "profile email"

# optional: the logout URL of your IdP
# Only necessary if your IdP does not publish the logout url
# in the metadata
searchguard.openid.logout_url: "https://keycloak.example.com:8080/auth/realms/master/protocol/openid-connect/logout"
Previous Limitations
This of course is error-prone since you need to make sure both configs are in sync. In addition, because parts of the configuration are stored in kibana.yml, any change required a restart of Kibana.
Moreover, this approach only supported one login method: You could choose between password-based authentication and SSO authentication, but you could not have both. There was also no support for multiple Identity Providers.
Let's see how we can implement this with Search Guard FLX.
New Configuration Structure
Search Guard FLX now stores also the configuration for Kibana in the Search Guard configuration index. This means:
All configuration settings are stored in one central place. No more thinking about where to configure a particular aspect of your security settings.
Hot-reloadable: Now also the Kibana configuration benefits from the hot-reload capabilities of the Search Guard configuration. Change your frontend settings in real-time and without restarting Kibana
Support for multiple authentication types in Kibana
The configuration is now split between Elasticsearch and Kibana like:
sg_authc.yml
Contains the configuration relevant for Elasticsearch. This file replaces the former sg_config.yml.sg_frontend_authc.yml
Contains the configuration that is only relevant for KibanaSetting up multiple authentication types
Basic Setup: Internal user database
Let's start with setting up authentication based on username and password. In our example, we use the internal user database, but you might as well use LDAP.
First, let's configure Elasticsearch to use the internal user database. For this, just add the following to sg_authc.yml:
auth_domains:
- type: basic/internal_users_db
In sg_frontend_authc.yml, add:
default:
  auth_domains:
  - type: basic
And then upload the configuration with sgctl. If your configuration files are located in the directly "my-sg-config" the call looks like this:
./sgctl.sh update-config ./my-sg-config
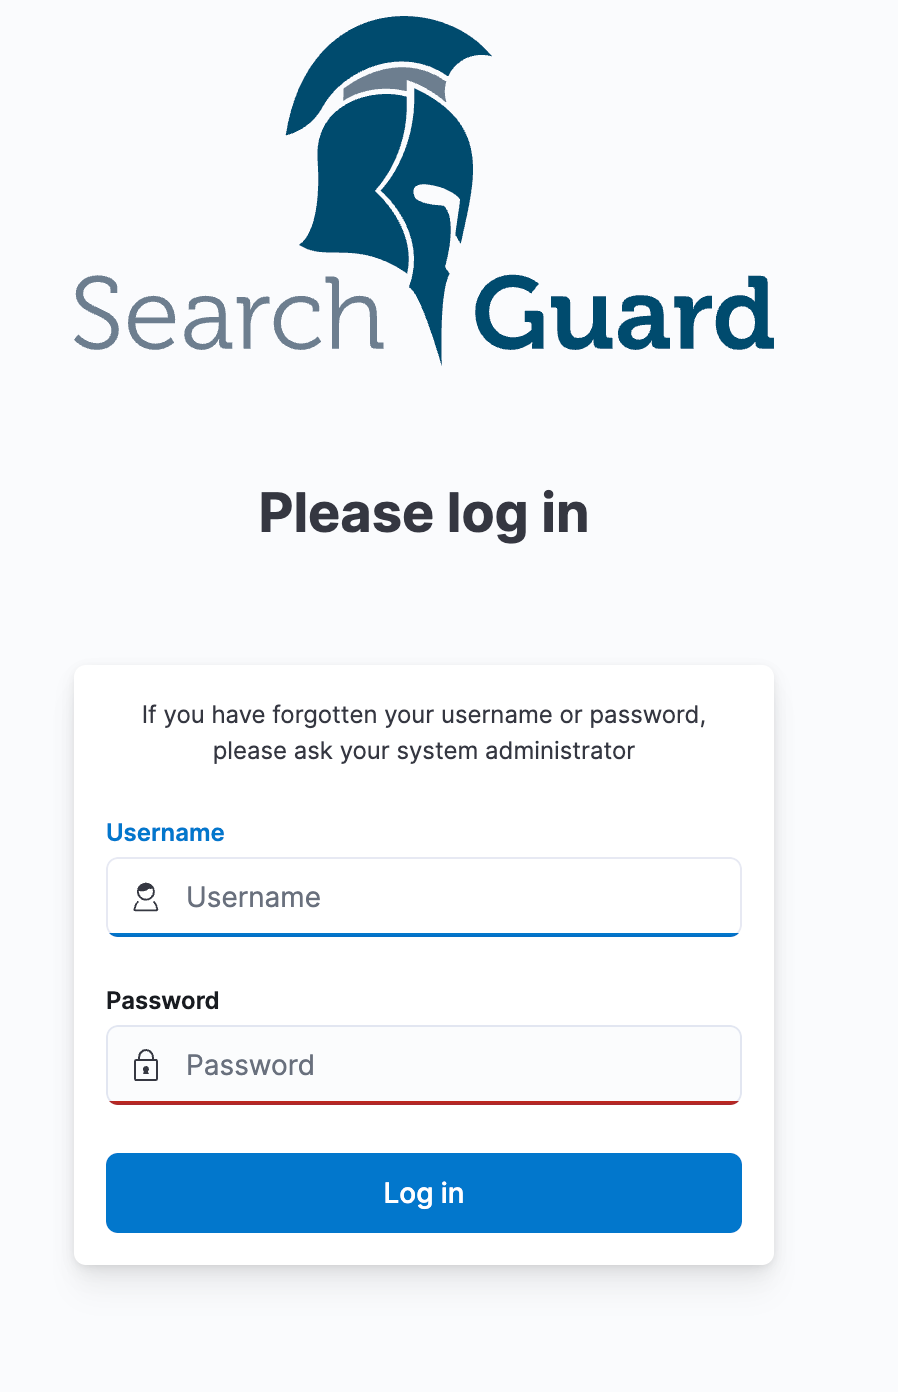
If you now open Kibana you are welcomed with the usual login screen:
Adding OIDC to Kibana
The next thing we want to do is add OIDC authentication. We want to give the user the choice of whether to use OIDC for login, or plain old username and password.
For this, we add our OIDC configuration to sg_frontend_authc.yml:
default:
  auth_domains:
  - type: basic
  - type: oidc
    enabled: true
    label: "OIDC Login"
    oidc.client_id: "<client id>"
    oidc.client_secret: "<client secret>"
    oidc.idp.openid_configuration_url: "https://searchguard.eu.auth0.com/.well-known/openid-configuration"
    user_mapping.roles.from: "https://kibana.example.com/roles"
Again, we upload the changed configuration with sgctl:
./sgctl.sh update-config ./my-sg-config
When we visit Kibana again, the login screen now offers the option to also log in with OIDC in addition to username and password:
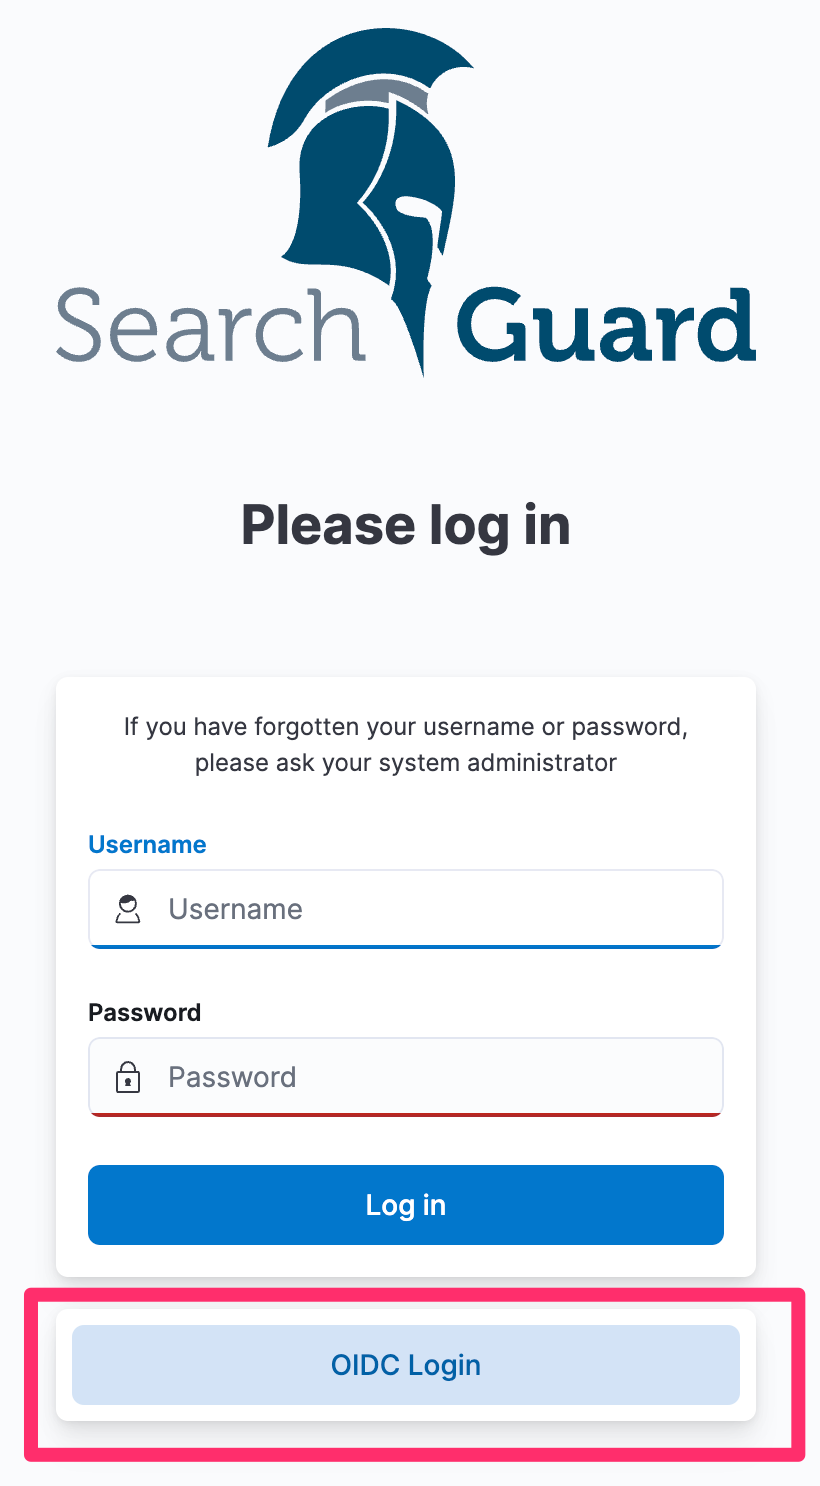
Of course, it does not stop here. You can add as many different authentication methods as required. You can add multiple IdPs, and mix ad match password-based authentication, OIDC, and SAML.
Published: 2022-08-10
Summarize this with AI
Questions? Drop us a line!
Other posts you may like

Webinar: Upcoming Search Guard Webinars
Anja Glauch || 2026-07-07
Live and on-demand Elasticsearch security webinars for our Search Guard engineers. Auth, RBAC, encryption, audit logging. Practical guidance from our experts..
read more

Using JSON web tokens to secure Elasticsearch
Cliff Staley || 2018-03-19
How to set up and use JSON web tokens to implement Single-Sign-On access to Elasticsearch and Kibana, and how to integrate with Keycloak.
read more

User Impersonation: Submit requests on behalf of another user
Cliff Staley || 2018-08-08
The best way to assure security rules work as desired, is to test the configuration. The Search Guard User Impersonation feature that makes testing easy.
read more